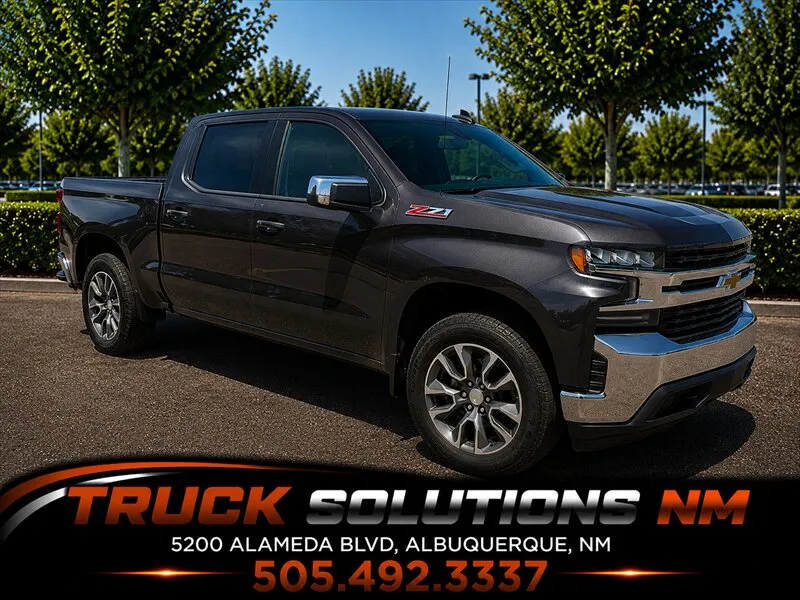
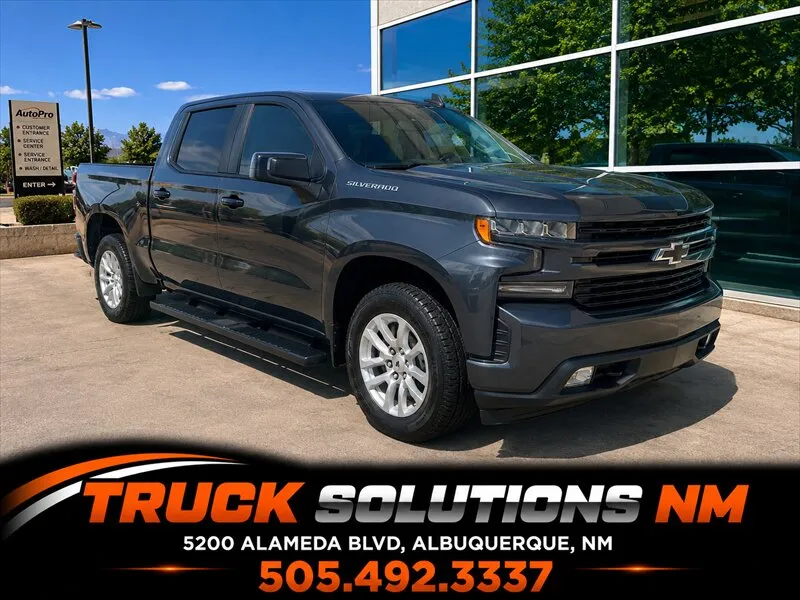
Quick Used Car Inspection Guide: 12 Checks in 20 Minutes
Table of Contents
- Why a Quick Inspection Matters
- Check One: Overall Exterior Condition
- Check Two: Body Panels and Gaps
- Check Three: Glass and Mirrors
- Check Four: Tires and Wheels
- Check Five: Under the Hood Visual Review
- Check Six: Engine Start and Idle
- Check Seven: Interior Condition and Controls
- Check Eight: Instrument Panel and Electronics
- Check Nine: Trunk and Cargo Area
- Check Ten: Brake Feel and Response
- Check Eleven: Steering and Suspension Behavior
- Check Twelve: Transmission and Acceleration
- Putting the Checklist Into Perspective
- What to Do After the Inspection
- Why This Approach Builds Confidence

A quick inspection can reveal far more about a used car than most people expect. You do not need advanced tools or mechanical training to spot common warning signs. What you need is a clear process, the right order, and enough awareness to notice when something feels off.
This used car inspection checklist is designed to be completed in about twenty minutes. It follows the natural flow of how a vehicle should be examined, starting from the outside and ending with how it behaves on the road. Each check builds on the last, helping you understand the vehicle’s condition before any decisions are made.
Why a Quick Inspection Matters
Many issues that affect a used car’s value are visible with careful observation. Wear, neglect, and inconsistent maintenance often leave clues that appear long before serious problems develop. A quick inspection helps you identify those clues early.
This process is not meant to replace a professional evaluation. It is meant to help you avoid obvious risks, ask better questions, and understand whether a vehicle deserves closer consideration.
Check One: Overall Exterior Condition
Begin by stepping back and looking at the vehicle as a whole. Pay attention to how it sits on the ground and whether it appears level. Uneven stance can suggest suspension wear or previous damage.
Walk around the car slowly and look for mismatched paint tones or uneven body panels. These details may indicate past repairs. Minor cosmetic wear is normal, but inconsistency across panels deserves attention.
Check Two: Body Panels and Gaps
As you continue around the vehicle, look closely at the gaps between doors, hood, and trunk. These gaps should be even and consistent. Uneven spacing can be a sign of past collision repairs.
Open and close each door gently. They should move smoothly and latch easily without resistance or unusual sounds.
Check Three: Glass and Mirrors
Inspect the windshield, windows, and mirrors for cracks, chips, or hazing. Small chips can spread over time, especially with temperature changes. Replacing glass can be costly and should be considered when evaluating overall condition.
Check that mirrors are secure and adjustable. Loose mirrors may signal wear or prior impact.
Check Four: Tires and Wheels
Tires provide valuable insight into how a vehicle has been driven and maintained. Look at tread depth and wear patterns. Uneven wear can suggest alignment issues or suspension problems.
Check that all tires match in size and general condition. Mixed tire types or uneven replacement timing may indicate inconsistent maintenance.
Check Five: Under the Hood Visual Review
Open the hood and take a moment to observe before touching anything. Look for leaks, corrosion, or loose components. Hoses should appear firm, not cracked or brittle.
Check fluid levels visually where possible. Extremely low or dirty fluids can signal neglected maintenance. A clean engine bay does not guarantee good condition, but heavy grime or residue deserves attention.
Check Six: Engine Start and Idle
Start the engine and listen closely. It should start smoothly without excessive cranking. Once running, the engine should idle steadily without shaking or rattling.
Pay attention to warning lights on the dashboard. Lights that remain on after startup may indicate issues that require further evaluation.
Check Seven: Interior Condition and Controls
Step inside and assess the interior honestly. Excessive wear on seats, steering wheel, or pedals may not match the vehicle’s mileage claims. This does not always indicate a problem, but it raises questions worth asking.
Test basic controls such as windows, locks, lights, and climate settings. These systems should respond promptly and consistently.
Check Eight: Instrument Panel and Electronics
Look closely at the instrument panel. Gauges should move smoothly and display clearly. Flickering lights or inconsistent readings can signal electrical issues.
If the vehicle has a display screen, ensure it powers on and responds to input. Electronics can be expensive to repair and should not be overlooked.
Check Nine: Trunk and Cargo Area
Open the trunk or rear cargo area and inspect the space thoroughly. Look for moisture, stains, or odors that could suggest leaks. Check that the spare tire and basic tools are present if applicable.
Lift the cargo floor if possible and inspect beneath it. This area can reveal signs of water intrusion or past damage.
Check Ten: Brake Feel and Response
During the test drive, pay close attention to braking. The pedal should feel firm and responsive, not spongy or overly stiff. The vehicle should slow smoothly without pulling to one side.
Listen for grinding or squealing sounds when braking. These noises often indicate wear that may require attention soon.
Check Eleven: Steering and Suspension Behavior
As you drive, notice how the vehicle responds to steering input. It should track straight and respond predictably. Excessive vibration or wandering can suggest alignment or suspension issues.
Drive over a few uneven surfaces if possible. Clunking or rattling sounds may indicate worn suspension components.
Check Twelve: Transmission and Acceleration
Finally, evaluate how the vehicle accelerates and shifts. Acceleration should feel smooth and consistent. Gear changes should happen without harsh jolts or hesitation.
Any slipping, delayed response, or unusual noise during acceleration deserves further inspection before moving forward.
Putting the Checklist Into Perspective
This used car inspection checklist is designed to help you form a clear first impression. No single issue automatically disqualifies a vehicle, but patterns matter. Multiple small concerns can add up quickly.
The goal is awareness, not perfection. A well maintained used car will usually feel solid, consistent, and predictable during this process.
What to Do After the Inspection
Once the inspection is complete, take time to reflect on what you observed. Compare the condition to the asking price and how similar vehicles appear in the market. This information helps guide your next steps, whether that means continuing the conversation or moving on.
A quick inspection completed thoughtfully can save time, money, and frustration. It helps you focus on vehicles that truly deserve deeper consideration.
Why This Approach Builds Confidence
Used car decisions feel easier when you know what to look for and how to look for it. Following a clear inspection process removes guesswork and replaces it with understanding.
This checklist does not rush judgment. It creates space for informed choices. When you approach a used car with structure and patience, the process becomes far less stressful and far more rewarding.
Get Help Beyond the Checklist
A quick inspection can reveal a lot, but confidence comes from knowing the vehicle has been properly evaluated. At Auto Solution, every used car is carefully reviewed for condition, performance, and overall value before it is offered. This extra layer of evaluation helps remove uncertainty and saves time during the buying process.
If you want to start with vehicles that have already been assessed with care, Auto Solution offers a more informed way to move forward.